Showing posts with label Excel Services MOSS 2007 Trusted locations. Show all posts

Tuesday, July 31, 2007

Setting Trusted Locations in MOSS 2007

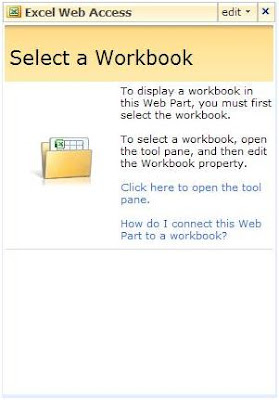
Listed below are click-by-click instructions for creating a document library, making it a trusted location, and using it to display an Excel 2007 spreadsheet via Excel 2007 web part.

Create Document Library (with Excel as the default type)
1. Open the Home page to your site collection (i.e. http://moss101/Pages/Default.aspx)
2. Click “View All Site Content”
3. Click "Create"
4. Click "Document Library"
5. Specify all the settings for the library, using Excel 2003 as the default type. For the sake of this example, the document library will be called “Warehouse Documents”.
6. A document library called "Warehouse Documents" is now created, accessible at http://moss101/Warehouse%20Documents/Forms/AllItems.aspx


Make it a trusted location
1. Click "Central Administration"
2. Click "Shared Services Administration"
3. Click the Shared Service (i.e. "SharedServices1(Default)" )
4. Click "open Shared Service Administration"
5. Click "Trusted File Locations", located under "Excel Services Settings"
6. Click "Add Trusted File Location"
7. Paste URL of document library (http://moss101/Warehouse%20Documents/Forms/AllItems.aspx)

Upload sample spreadsheet
1. Maneuver to the Document Library (http://moss101/Warehouse%20Documents/Forms/AllItems.aspx) and click upload
2. Upload an Excel document in .XLSX format. Note: Document must be in Excel 2007 format (.XSLX) to work with the EWS web parts. Otherwise the web part will produce an error message similar to the one below:

The workbook that you selected cannot be opened.


The workbook may be in an unsupported file format, or it may be corrupt.


Add Excel Web part
1. Open the Home page to your site collection (i.e. http://moss101/Pages/Default.aspx) .
2. Click “Site Actions” in the upper right hand corner of the page
3. Click “Edit Page”.
4. Click “Add a Web Part” in the desired zone.
5. From the pop-up box, select “Excel Web Access” web part and click “Add”. The web part will then appear in the selected web part zone as seen below:


6. Within the web part, click the link “Click here to open the tool pane” to configure the web part.
7. In the settings pane, use the ellipsis button (button with 3 dots) to maneuver to the document library created previously.
8. From the document library, select a spreadsheet in Excel 2007 format. Selecting any other format will result in the following error message: